
Making networks more secure!
Finding The Remote
September 2, 2022 - Alex Roland
We've all lost the TV remote at least a couple times. Unfortunately it is a frequent issue in my household ever since my 4 year old started to use the remote to put Cocomelon on. It is almost a nightly routine when he goes to bed and we ask him where the remote is. His usual response is "I don't know", so we have to spend the next 20 minutes looking for it. We thought it would be a good idea to get one of those key/remote finder devices, but the one I ordered was slightly too big for the Firestick remote. So, I thought why not take the finder device and the remote apart and find out if we can integrate them together. Below I talk about the journey to integrate them and show pictures of the process!
Here is the finder device I purchased for this project. It is a little wider than the Firestick remote and wouldn't stick to the remote since the remote is curved and this device isn't.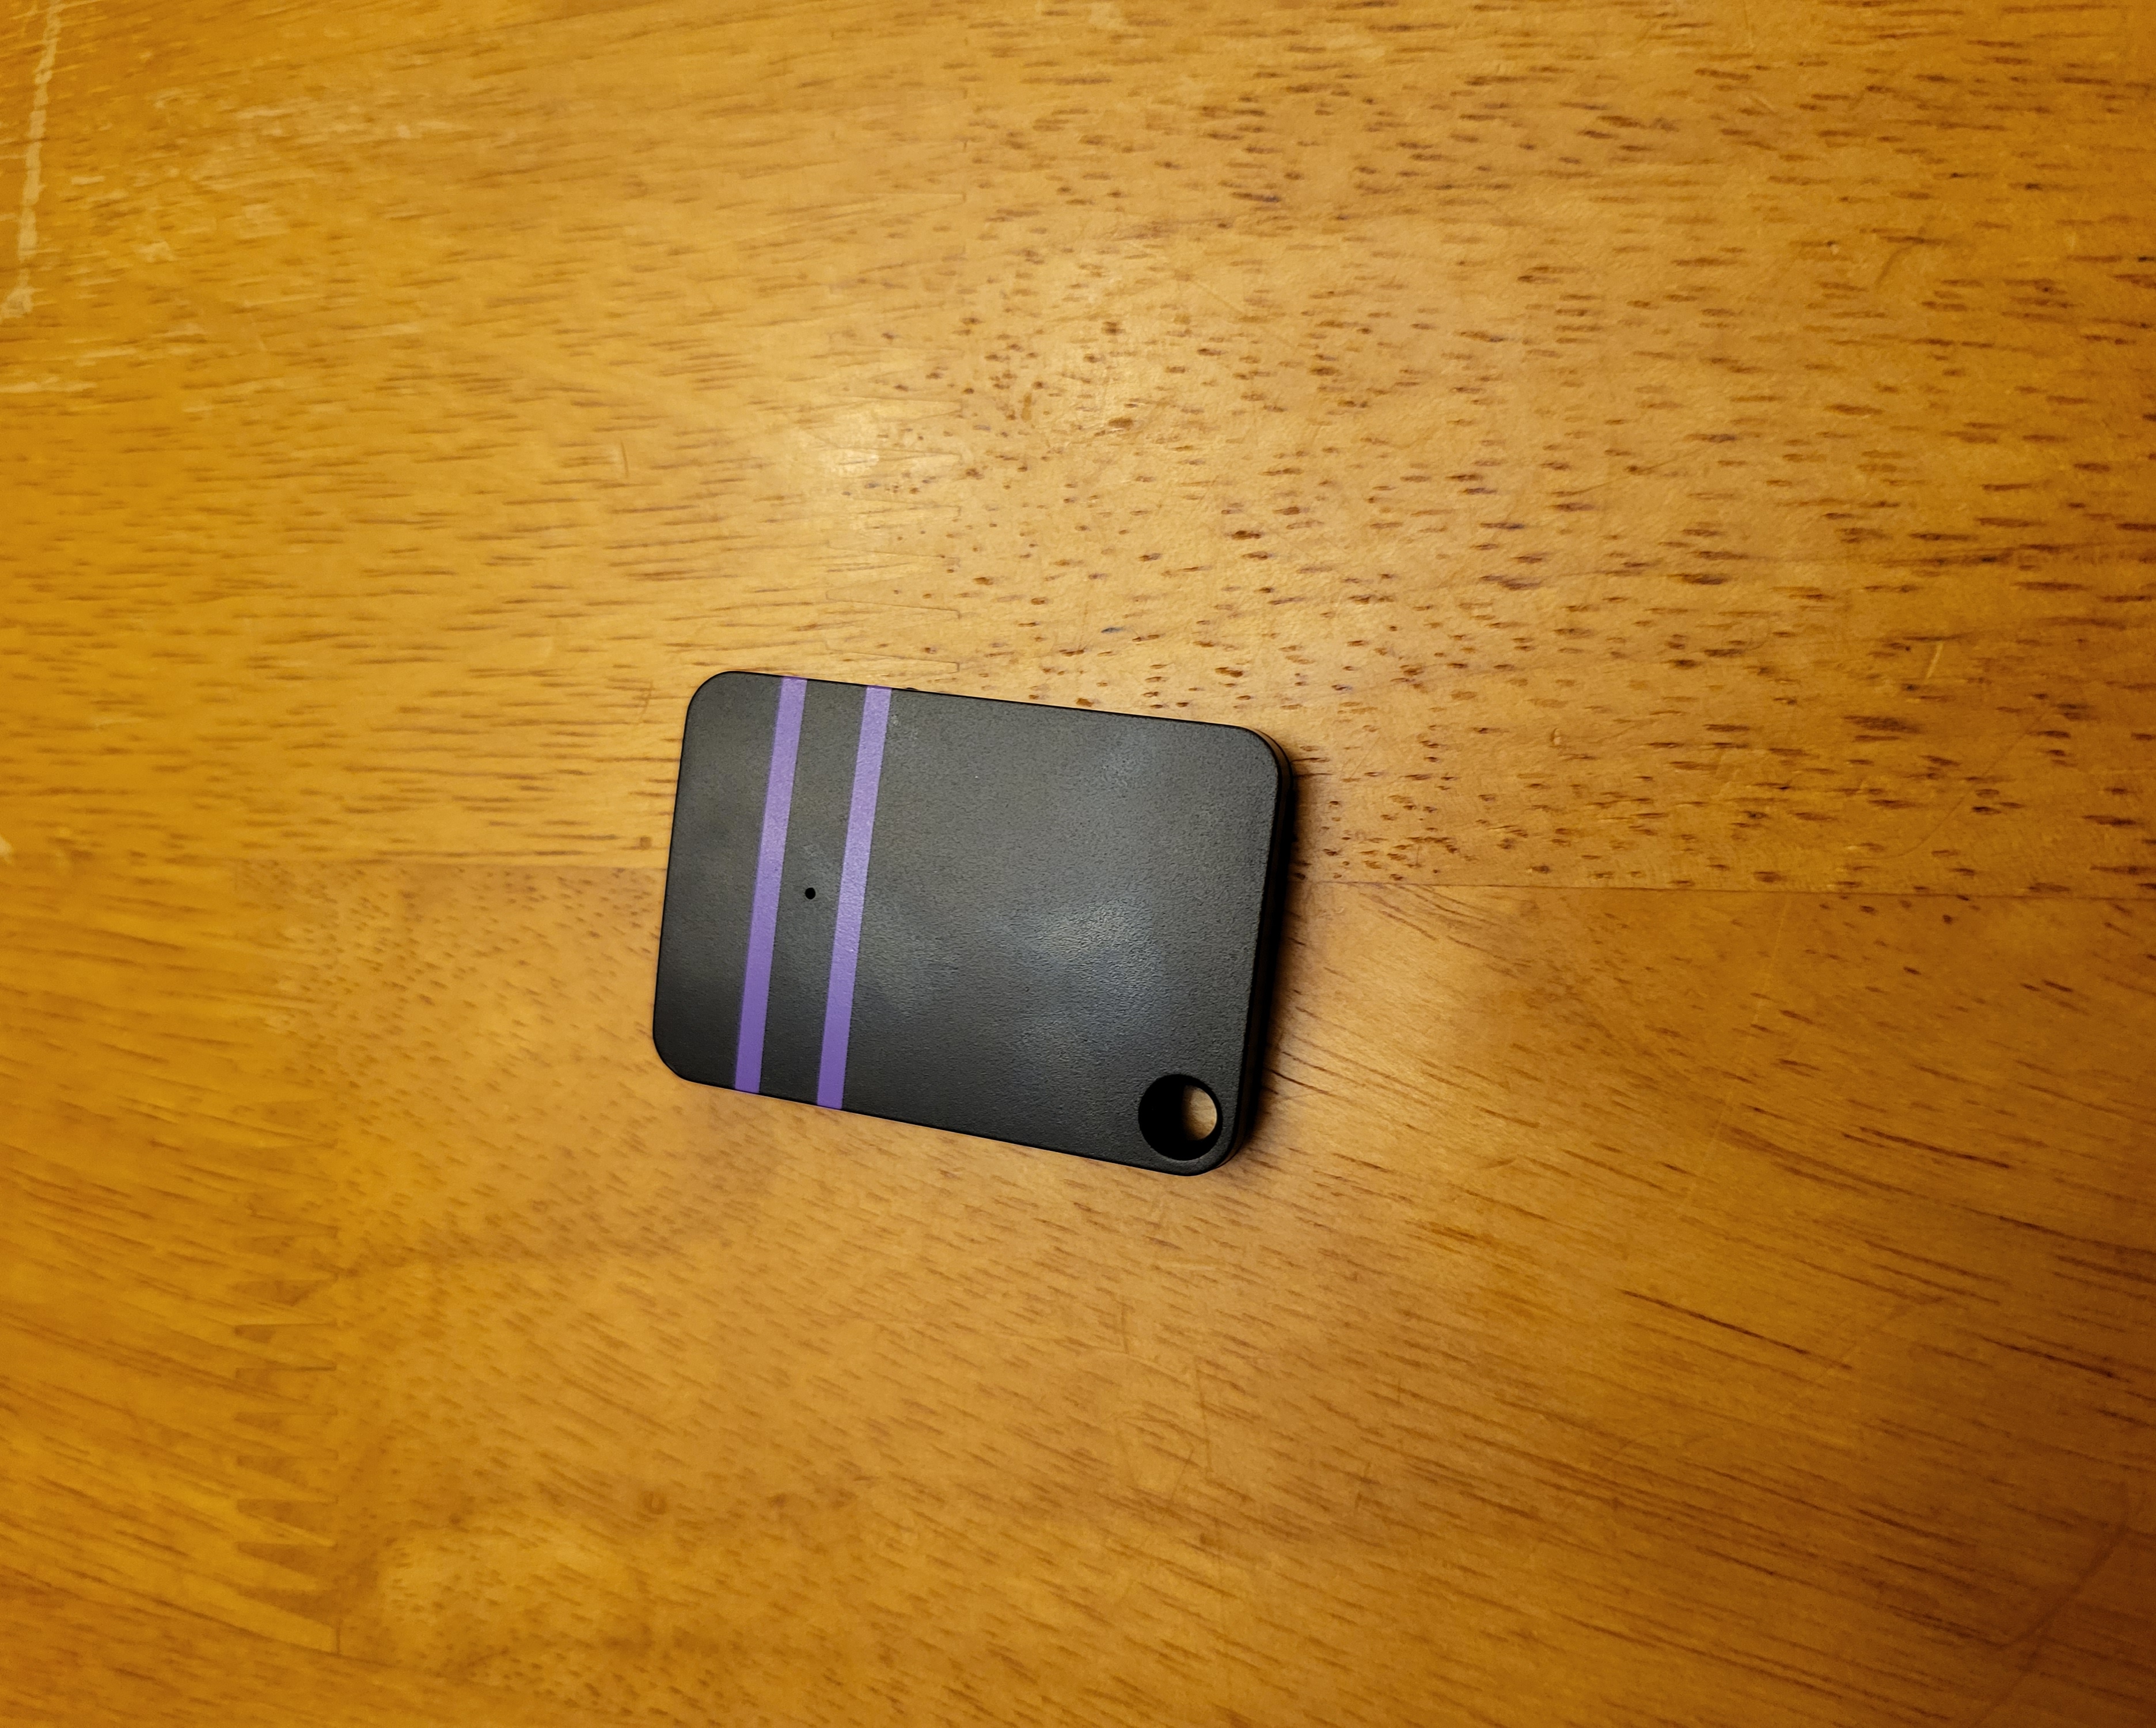
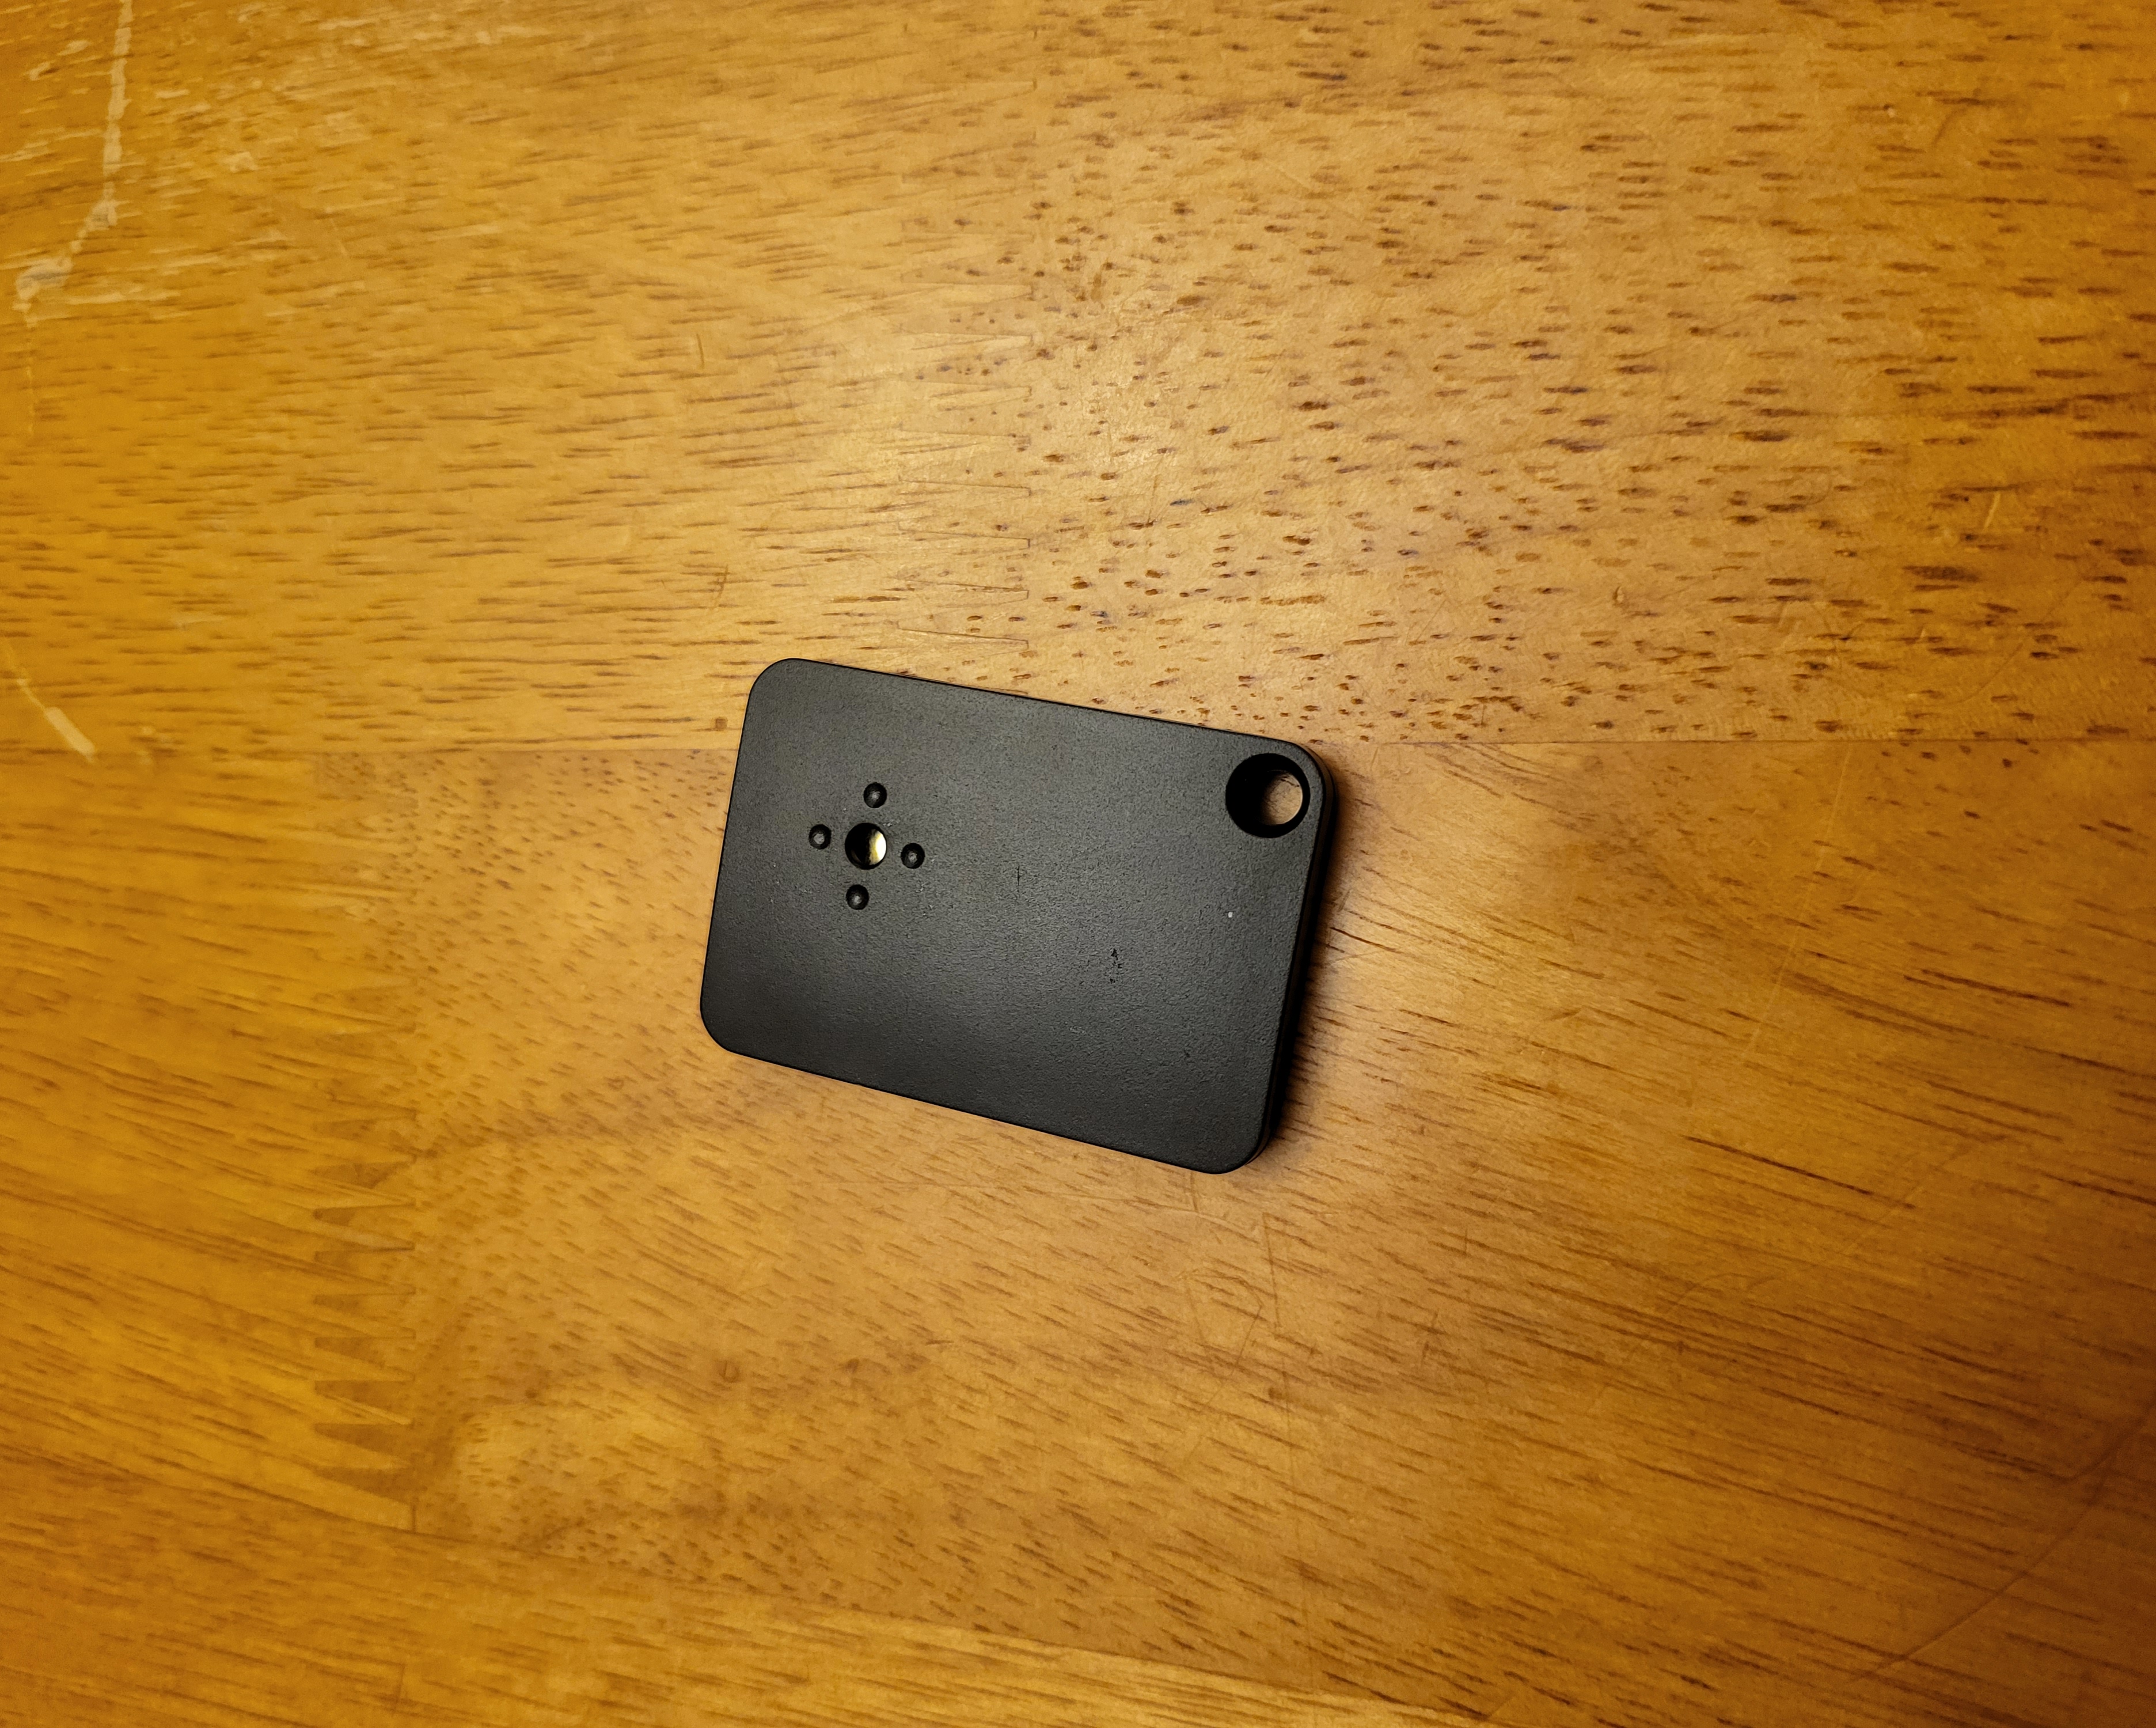
The device came with a tool to open it so you can change the battey, so this part was easy. We can see the circuit board, battery, speaker, and antenna. We will not need the batteries since I will be tying into the remote batteries to power the finder. This is possible because the coin battery provides 3V of power, and the two batteries in the remote in series provides 3V too (1.5V per AAA).

Removing the speaker proved to be a challenge. I tried to use a heat gun to melt the glue that is holding the speaker in place, but that kept melting stuff around the speaker and the glue didn't seem to be softening. So I took a different approach and just cut the speaker out using a rotary tool. I also put a piece of electrical tape over the back of the circuit board since it is going to rest against the circuit board in the remote and I didn't want to cause anything to short.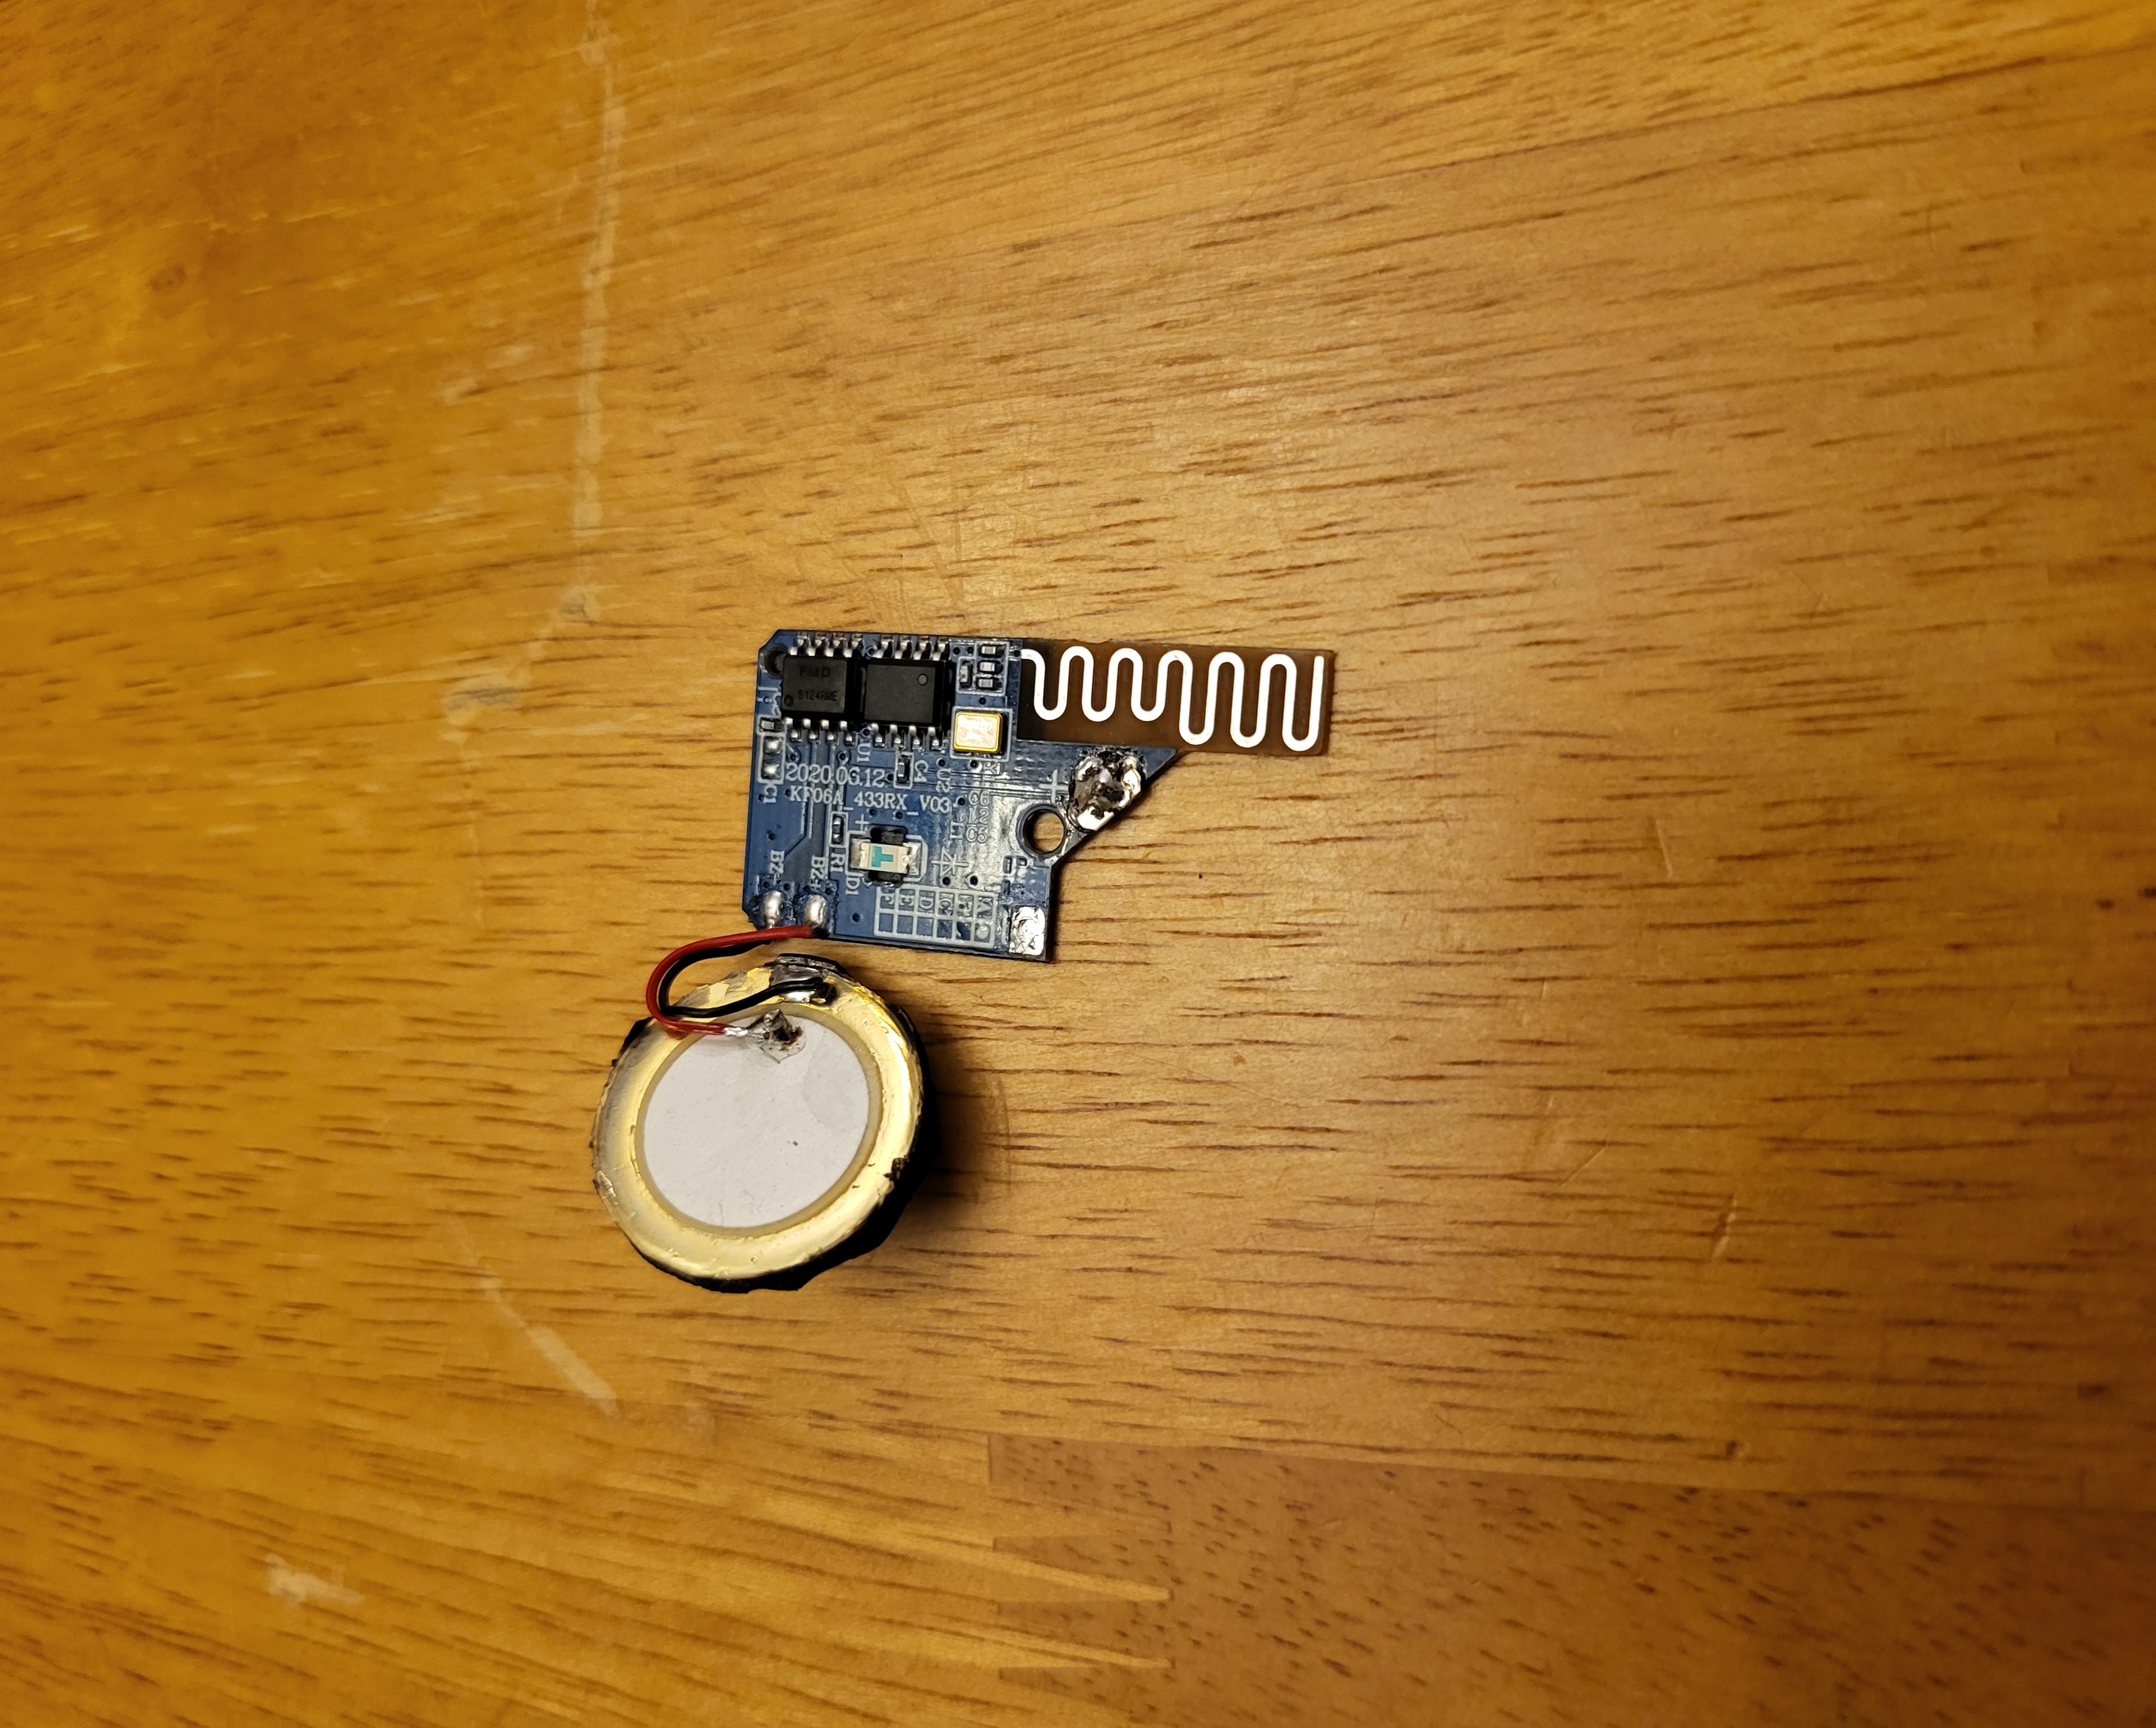

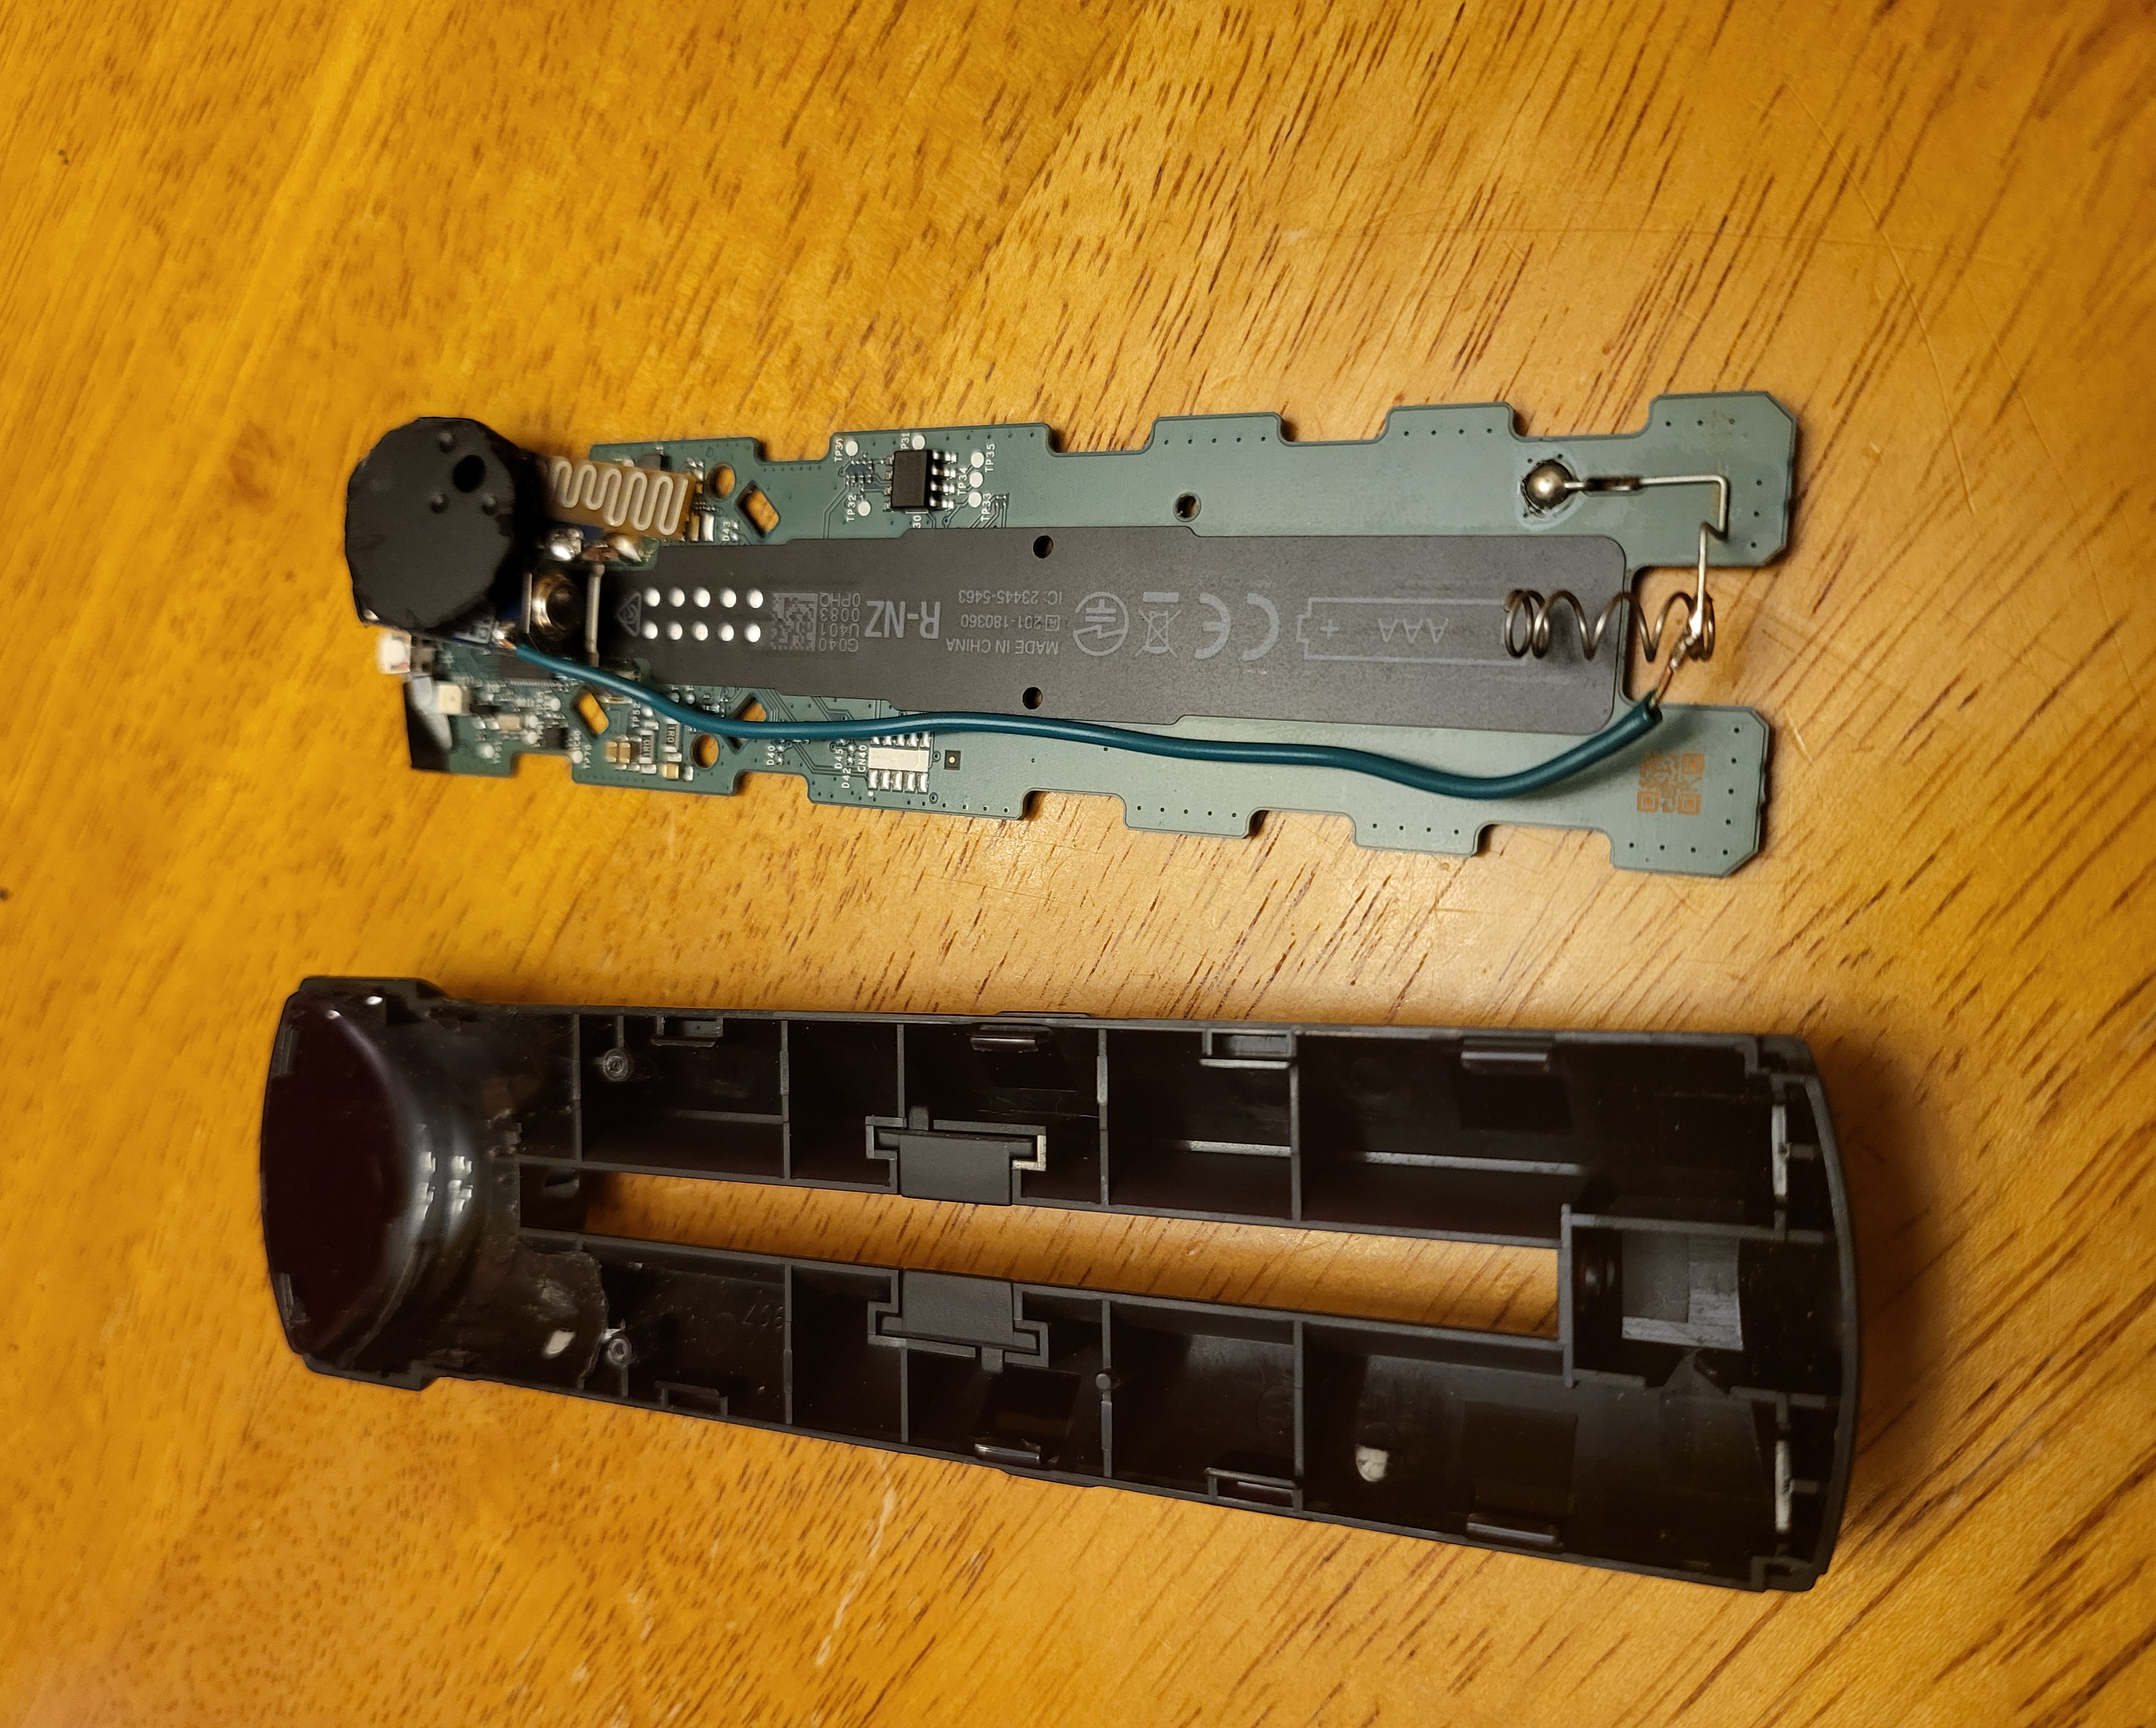
Now that the finder device is ready, we need to prep the remote to house it. This required cutting away some of the plastic on the inside of the remote shell. By doing so I now have enough room to squeeze the finder circuit board into the remote. Luckily there is still enough room for the IR trasmitter from the TV remote, so no functionality is lost from this project.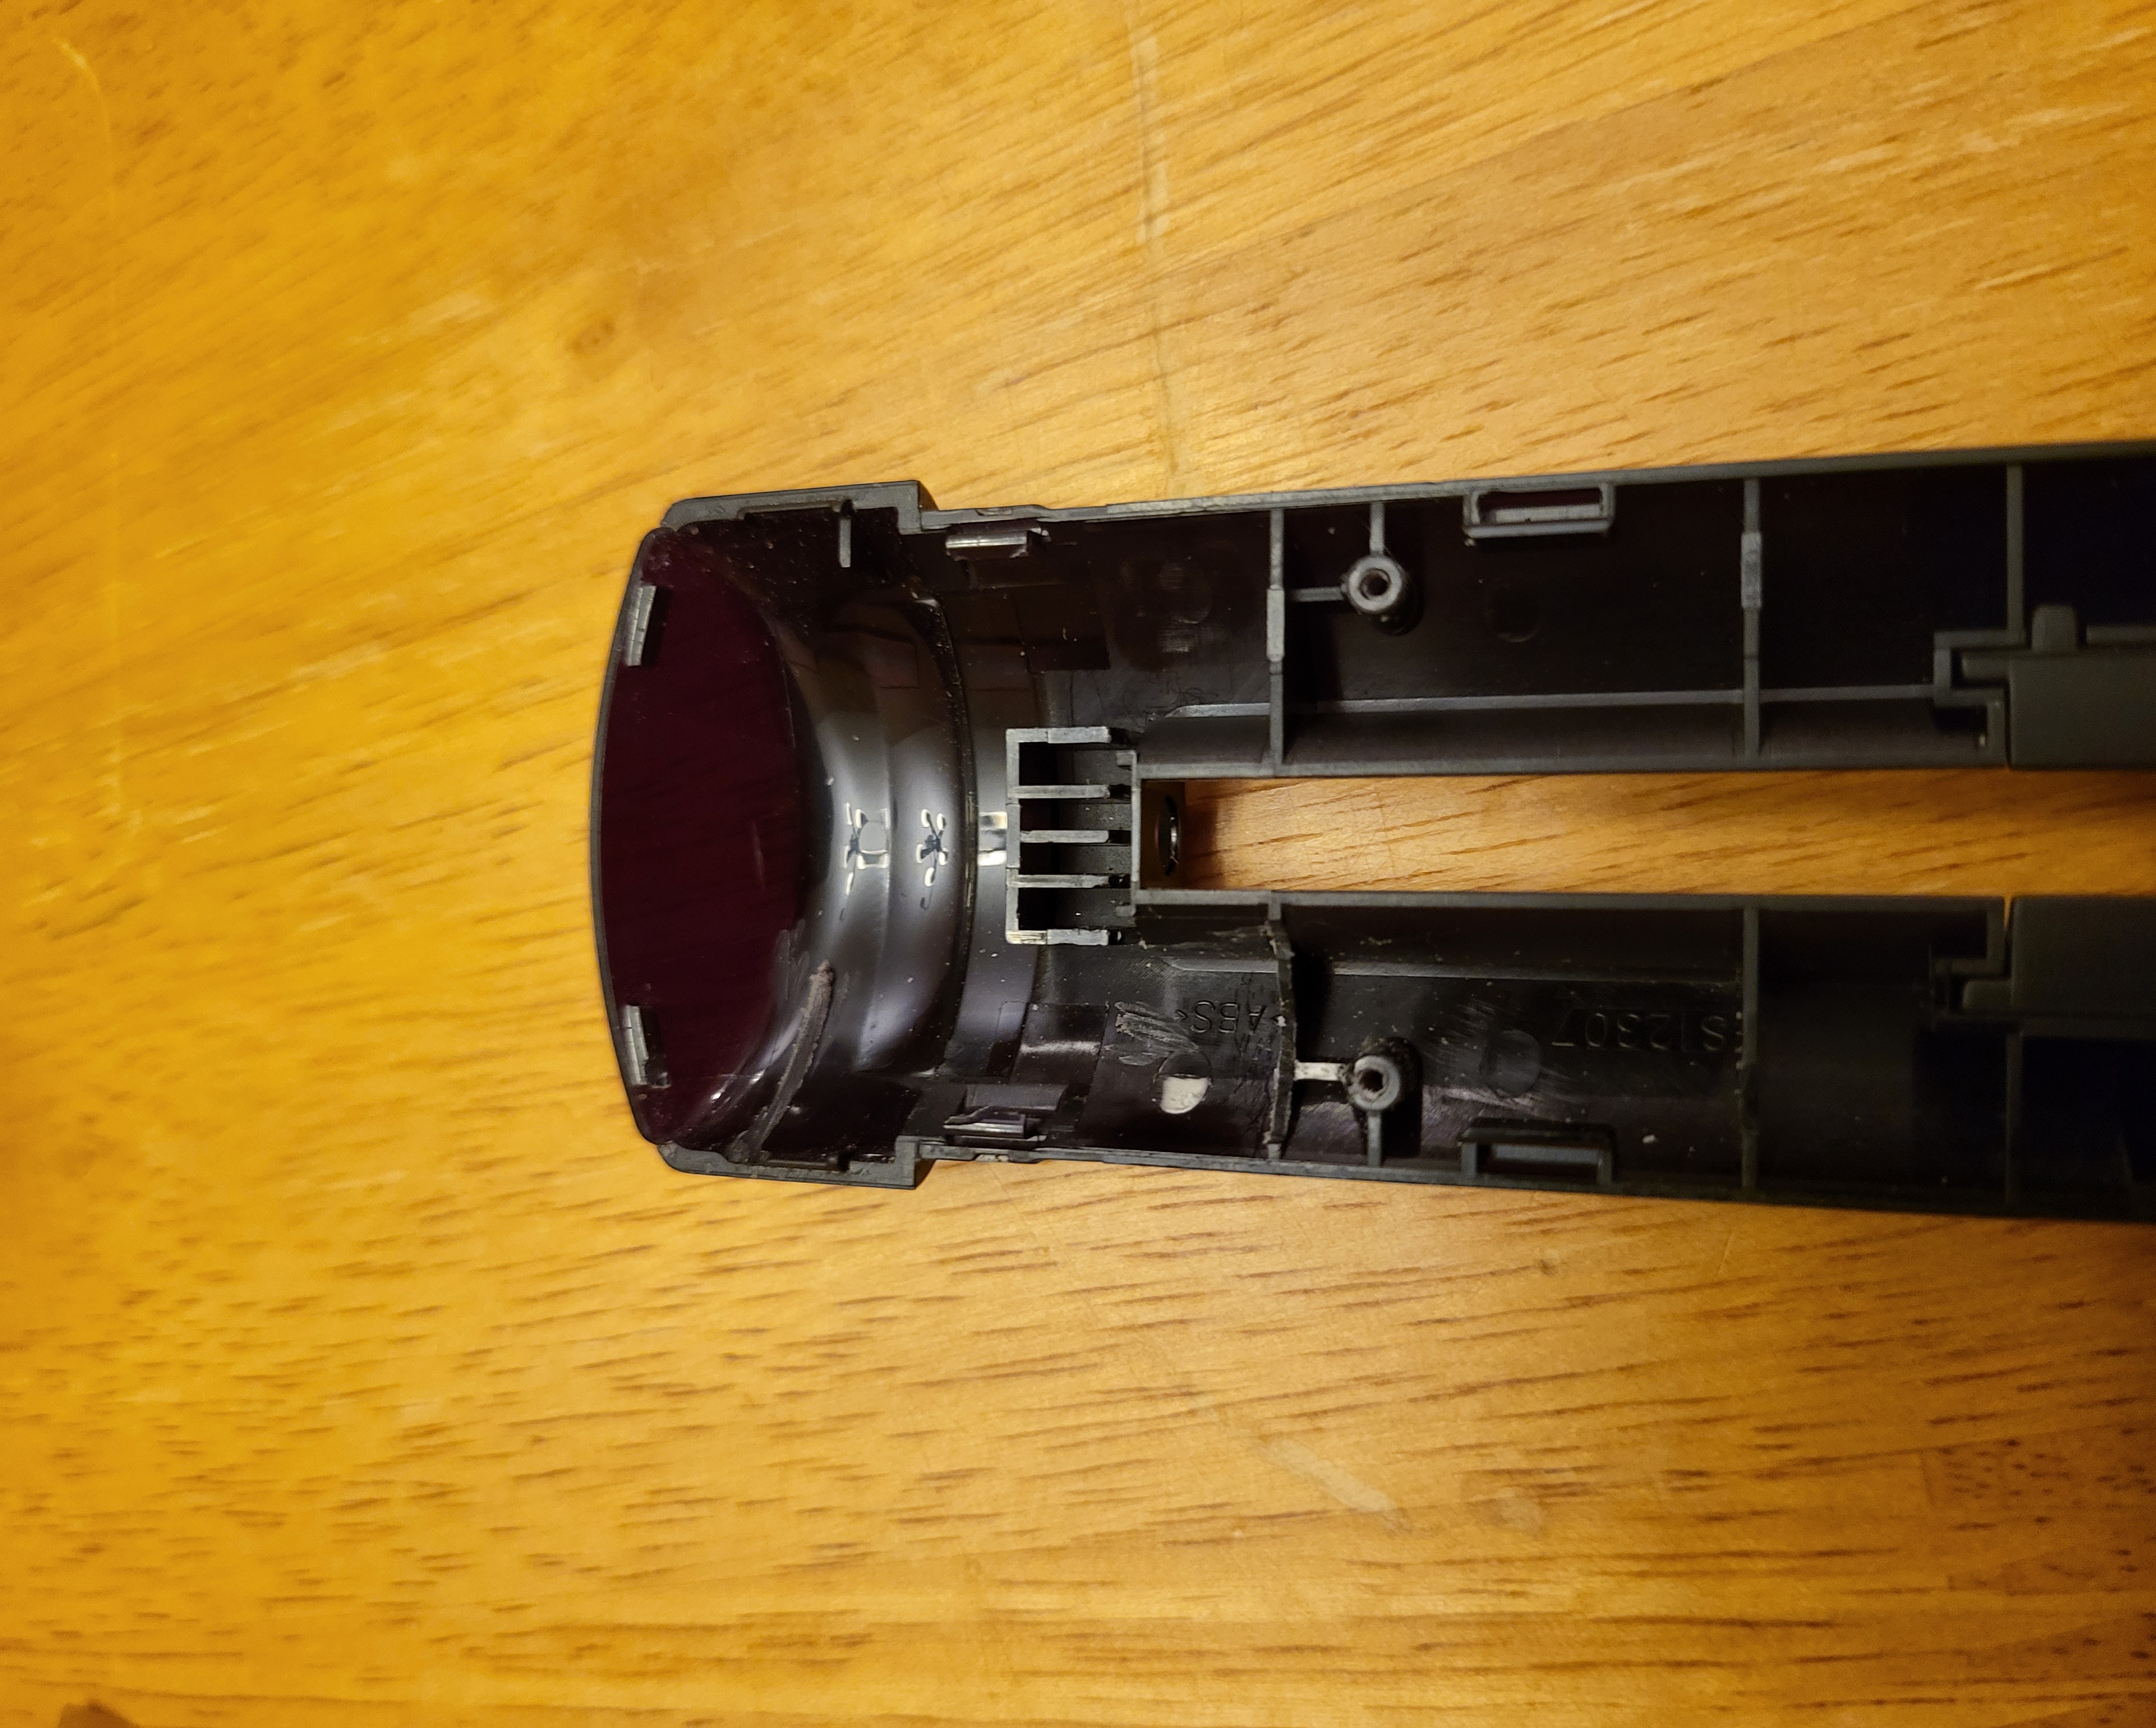

Now that we know the device fits, we need to integrate it into the remote's power. I only had solid core wire on me unfortunately, so that's what I used to attach to the negative terminal on the remote's circuit board. Surprisingly the positive terminal was able to make contact based on where it would sit in the remote and the pressure of the assembled remote. This is because it was a pretty tight fit and applies continuous pressure on the positive contacts. That means I didn't have to solder the positive terminals together. I know it would be best if I did, but this was a lot easier and proved to be very durable even after tossing the remote to my wife. I did the toss to simulate the kids being a little rough with it.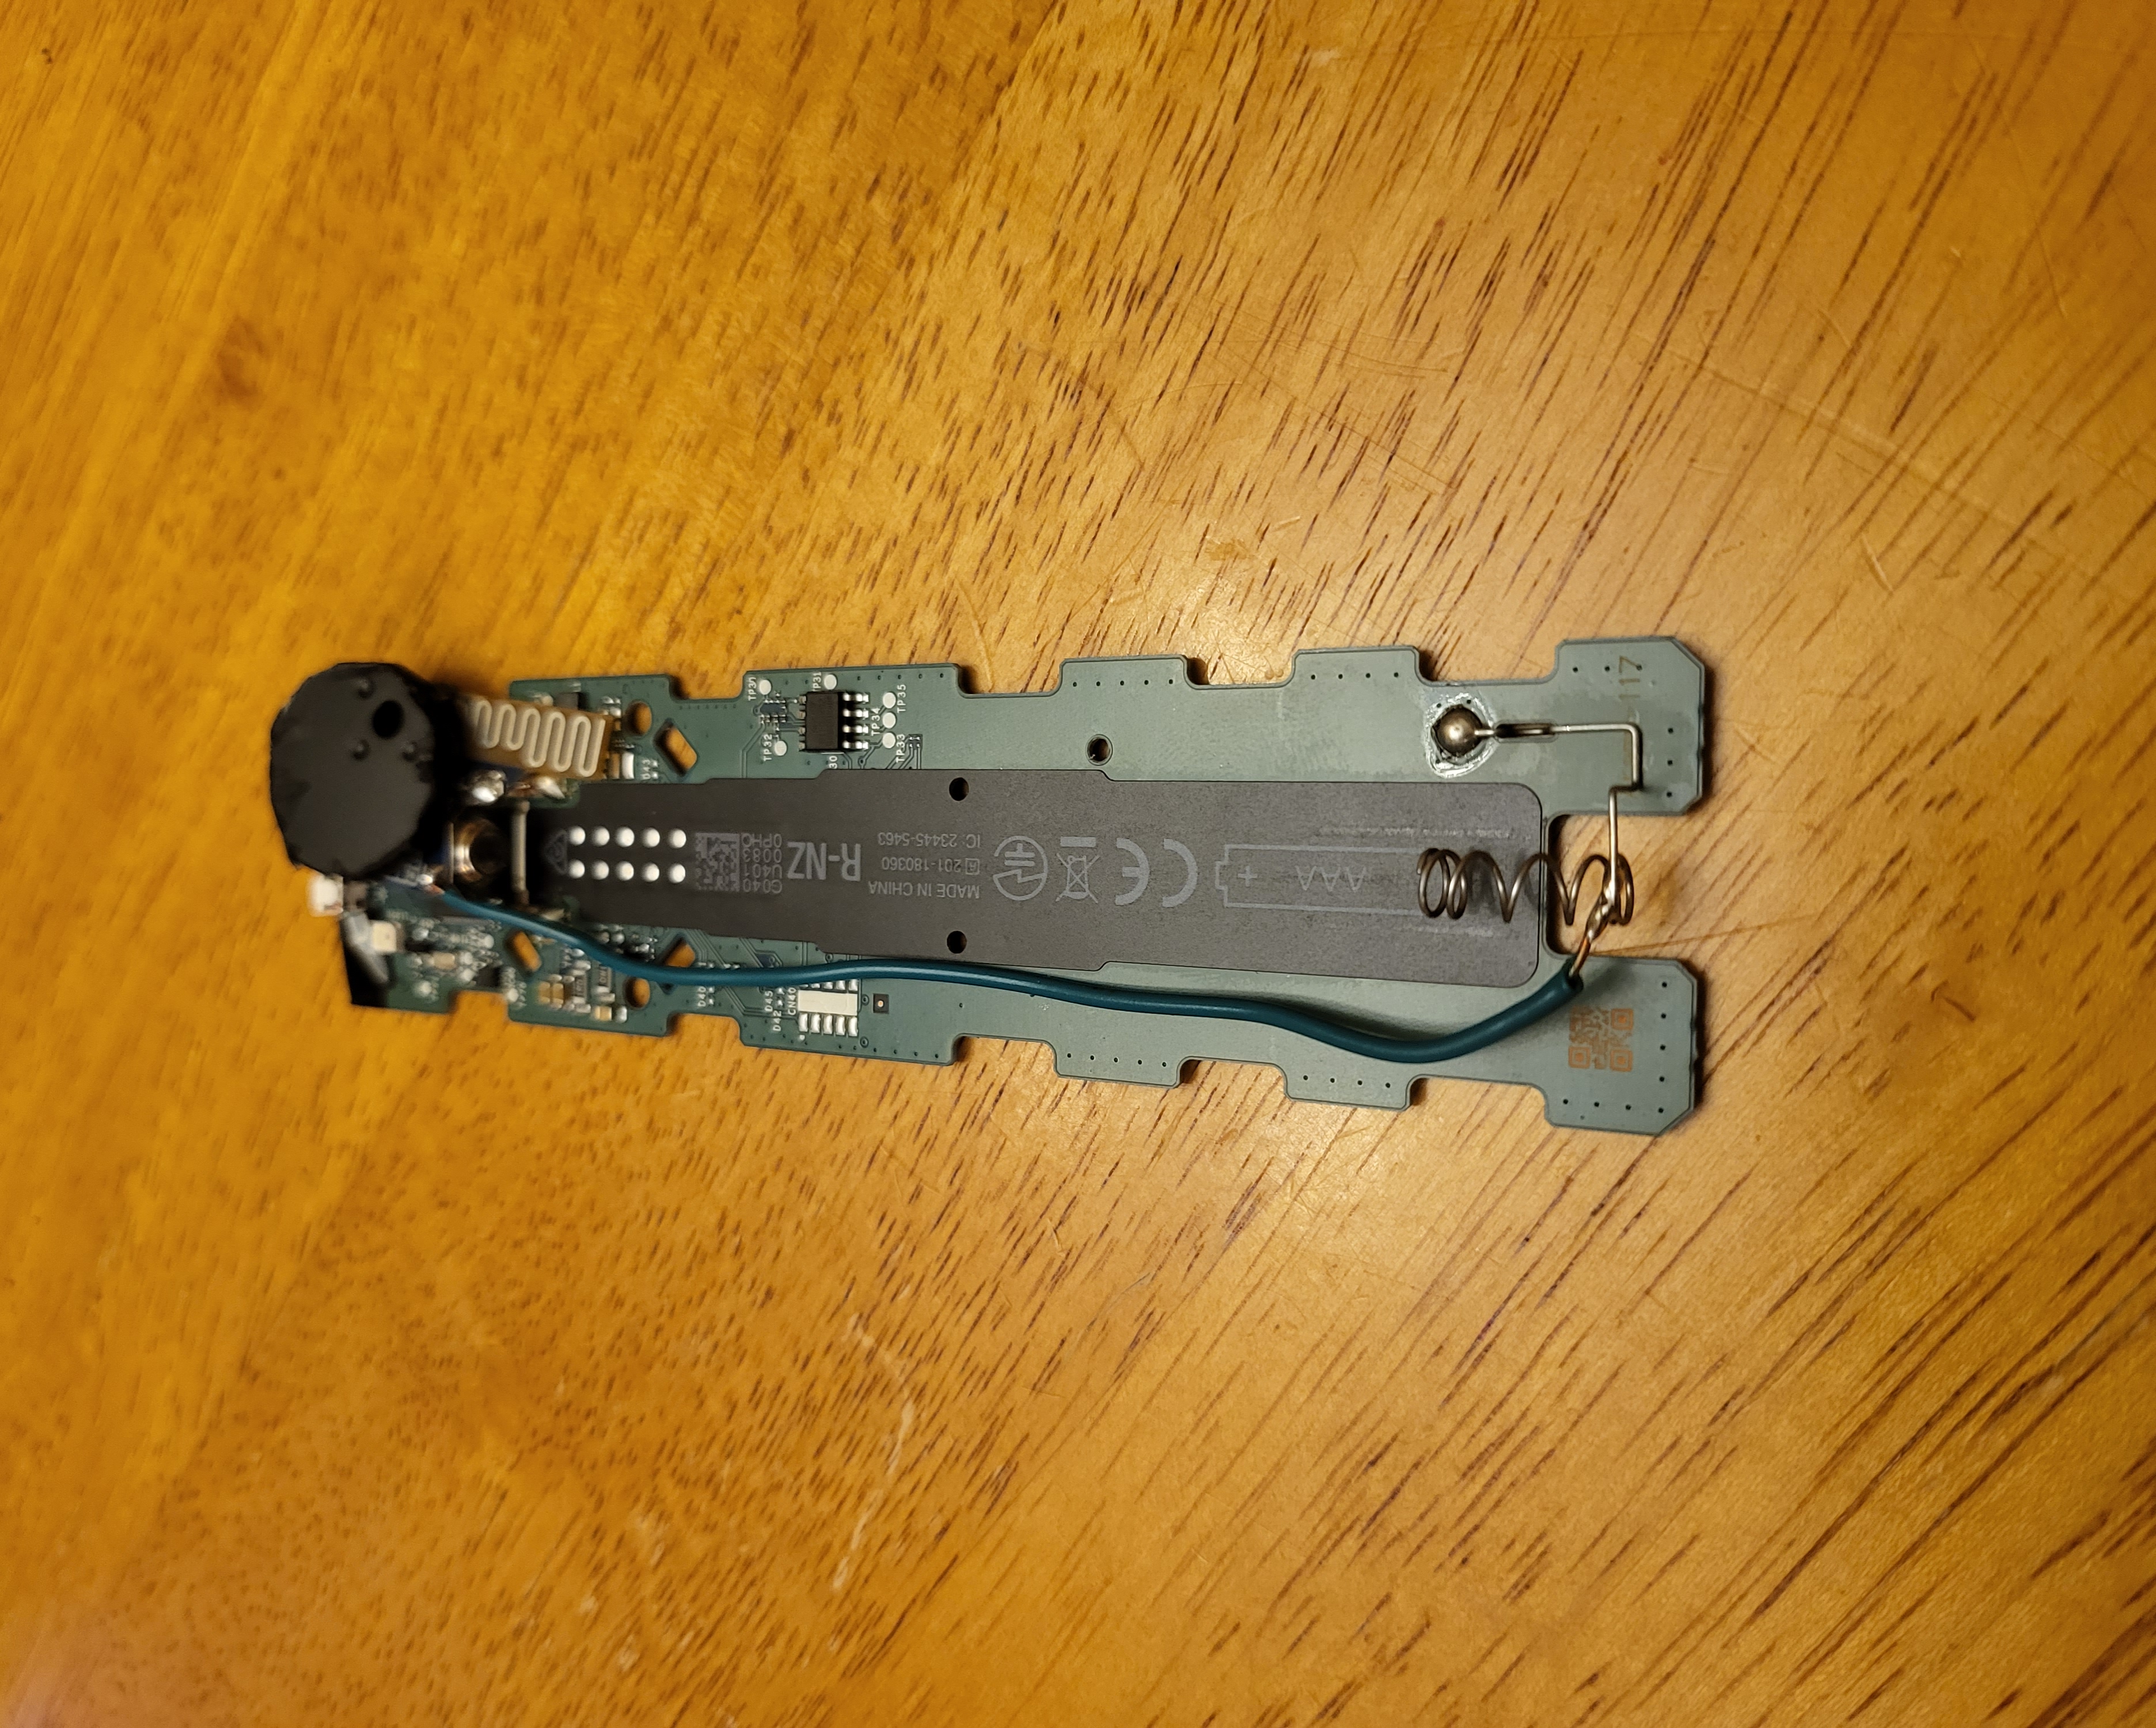
This project was surprisingly a success and only took about 20 minutes. My kids love pushing the transmitter button to make the remote beep to "find where it is", and my wife and I love that we are actually able to find the remote now when it is lost!